
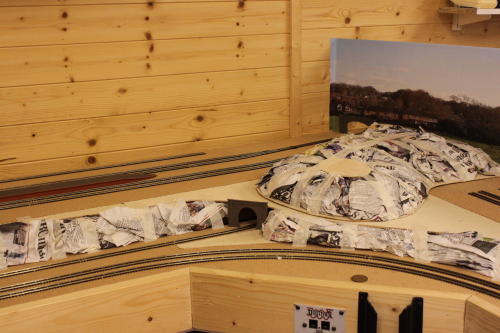
Once the plywood "edges" for the higher ground were complete, the cuttings to the lower levels needed to be sculpted. I used the method described in the Woodland Scenics manual: create the terrain shape with screwed up newspaper, then cover with "modroc" bandage.
Getting the newspaper right wasn't difficult. I used masking tape to hold it in place, with enough at the tops and bottoms not covered in masking tape that the plaster impregnated bandage had a hope of sticking. The edges for the cutting were done first, then the hill was covered.
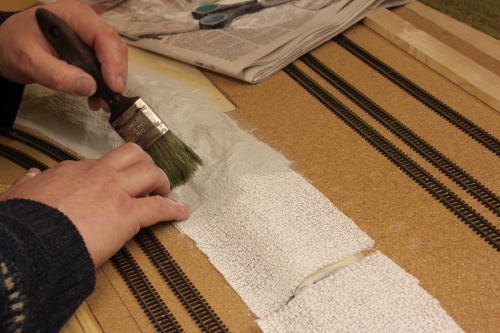
Modroc bandage was then used to cover the paper. There are several descriptions of what do do, all with variations on the same principle. What I did was to cut it into strips that run vertically up the terrain, and have maybe 1cm overlap at top and bottom. The strips overlapped each other by about the same amount. Then, once they were all cut and ready, I brushed water onto them using a 2" paintbrush. It is surprising just how much water is needed: the plaster soaks it up prodigiously.
The hill followed the same principle, but with the plaster wrapped under the plywood base. I don't know how well it will match to the plywood it sits on with the extra thickness of the modroc yet....
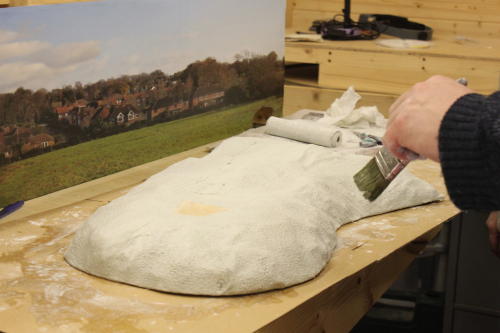
Next step: paint!