
I'm making progress, slowly, on adding scenery for Petersfield. I have a full set of buildings to run along the backscene, and today added the roadway and pavements.
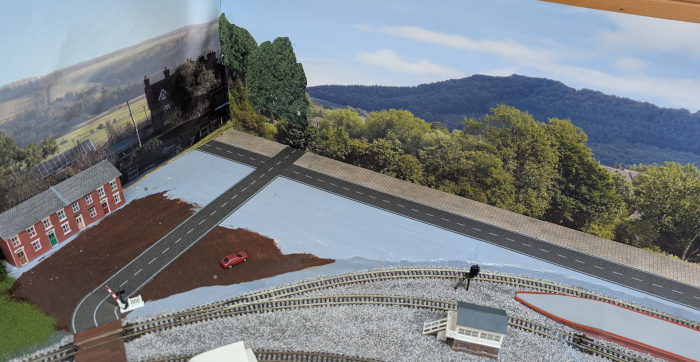
The road I think was originally a Faller product, but is now sold by Gaugemaster under their own name. It is a spongy fabric material. The pavement is Metcalfe card, with two thicknesses so that it is taller than the road. "Ad hoc" road sections near the station are Metcalfe tarmac sheet.
The high street buildings are all Metcalfe kits, mostly with customer names matching shops found in Petersfield. I couldn't resist a wine bar called "Leaves on the Vine" and the spooky hotel can only be Hotel California. I had planned to leave them unit, but I've been persuaded... and lights (with wires behind the backscene) are next.

Here was a new challenge: a working level crossing. This enables a road to run from behind the Petersfield station area up to the oil depot. The only place the crossing can go in between two back-to-back points, so it ended up a little narrow in places!
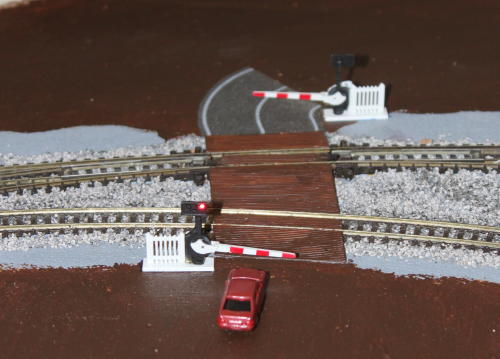
The road surface is fairly early. We used Plastikard 1mm spaced planking sheet to create a timber road surface. In between the rails, this is glued to the sleepers so is lower that it really should be. In between the tracks it is glued to the ballast surface, and is flush with the rail tops. At either side it slopes down from rail height to baseboard height. Painted brown it resembles creosoted timber.
The barriers are made from a Peco NB51 "Level Crossing Barriers" kit. This has two half length barriers that swing up and down. We've glued two red surface mount LEDs on the back of the "visible" barrier: 0603 size LEDs seem to be about right. Fine 34SWG enamelled copper wire runs down to the base of the post then through the baseboard.
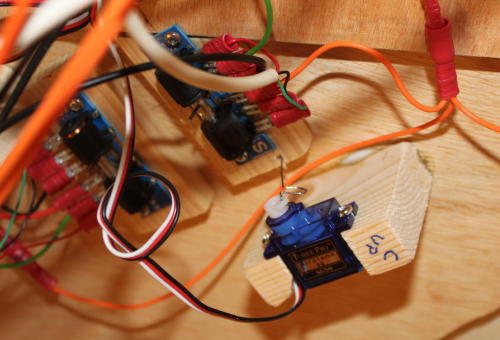
We added a "cam" onto the rear of each barrier (i.e. the side away from where you can view it). Fine 0.060" diameter piano wire rods then run down through the baseboard; we've mounted two RC servos underneath to provide mechanical motion. "Omega loops" in each servi wire allow the servo to extend beyond the range of operation f the barrier and not cause damage, we hope!
The servos and lights are all operated by a CML Electronics MSC8 servo decoder. The motor output drives the two LEDs, and you can choose the blink rate. Outputs 2&3 drive the servos, and we've programmed the decoder so that output 2 always follows output 1. The results is that DCC address 533 turns the lights on and off, and 534 activates both barriers.
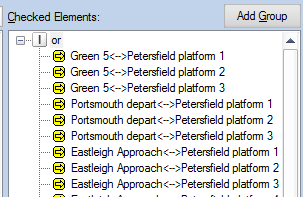
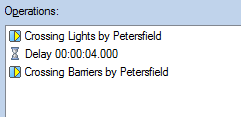
Finally, we've programmed traincontroller to activate both DCC addresses from a "Flagman". The flagman is activated by any route through the crossing being active; when activated it sets the crossing lights active, then sets the barriers down 4 seconds later.
The logic works, in that the barriers go down when any of the routes are activated. If a second train comes through in the other direction, the barriers stay down for it. However it does take approx 8 seconds from the start to barriers full down: it is possible for a train leaving Petersfield or eastleigh to get there before the barriers are down. I need to investigate a way to delay the route being used after activation. I know that adding a delay to a point will do that, but I'm not sure if a delay to a flagman would be the same.