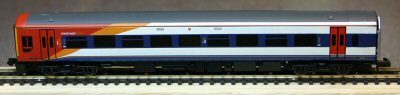
I don't know why but I just like this model. It is a simple chassis with no bells and whistles (OK, no lights) but it runs nicely.
This is a split-frame chassis, and there are no wires to intercept. I was able to get the basic instructions for this from the web, courtesy of Smallphry: all I had to change was housing the decoder itself.
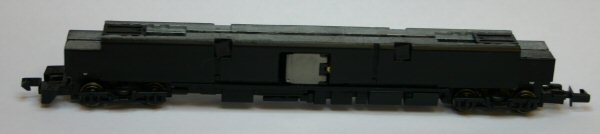
The body lifts off: it is only held on by two tiny clips at each side. Remember which is the front - it doesn't go on both ways! Mark carefully the position of the two plastic mountings above the bogies. There are several indentations here, for several different models. It will be a lot easier to find out BEFORE removing screws. Note too which way the "dimples" in those plastic mounting are (towards the chassis centre for this model).
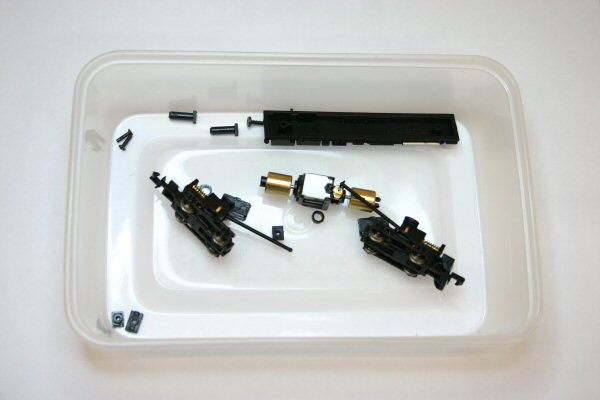
Then disassemble the chassis. Remove the two screws securing the "undercarriage", and remove the two screws holding the body sides together. Keep all of the bits together: food containers from the local Chinese takeaway seem the ideal size for a lot of stripped models.
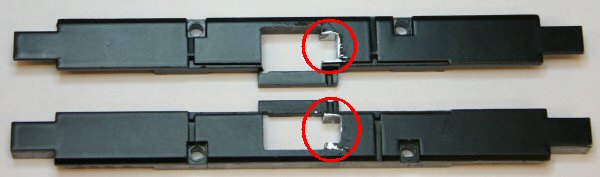
The pickups on the bogies contact onto the chassis sides. The motor used to get its power directly from the chassis sides. To insulate it, some metal needs to be routed out. I used a handheld "Dremel" tool with router attachment which easily managed the task. The material to be removed is marked. After doing that, clean thoroughly with a brush or air duster.
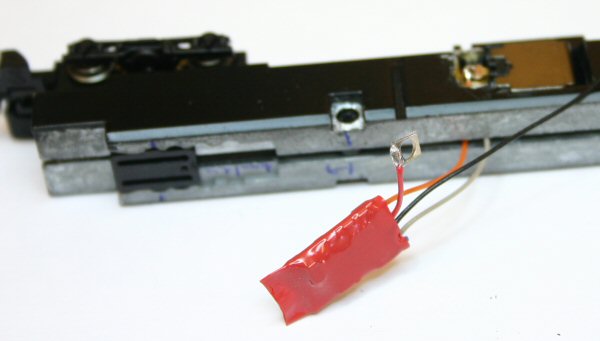
The decoder orange and grey wires now need to be soldered to the motor brush retaining clips. The wires then thread upwards through the middle of the chassis without further ado. I wasn't satisfied about the insulation of the brush one one side of the motor (the brass clip was VERY close to the front edge of the plastic moulding) so I also used small pieces of Kapton tape to insulate thoroughly.
The chassis can then be reassembled. "Reassembly is the reverse of disassembly" is easy to say: but this is fiddly. It was a lot easier after I laid the chassis side onto a piece of 2mm thick balsa: this allowed the bogie to hand downwards slightly and straightened out the various bogie mountings.
The decoder red and black wires need to go to the chassis sides. The two retaining screws are a good way to make contact; I soldered the wires to small cut down washers, and scraped away the paint, then simply put the washer under the screw head. The decoder fits nicely in the roof: but making the hole in the roof wasn't as nice. The very top is separably moulded, and can be removed (as I discovered later). The main body has an "inner roof" that is a snug fit to the chassis: a hole needs to be cut for the wires and decoder.
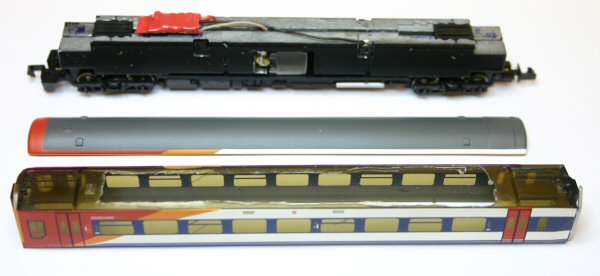
To cut away the top, I used the Dremel again with a milling cutter. This cut easily, but tended to melt the plastic leading to a lot of stuck-on swarf. With practice this could have been neater! The roof can then be glued back on, and the whole then clips back.
I used a Digitrax DZ123 decoder: they are quite small and perform well. In this installation I forgot to mark the front before starting; when tested the train ran backwards when "forward" was selected on the decoder. I'm not opening it up again: so the simple solution was to change CV29 to 7.