In some places I've chosen to use "Tortoise" point motors. These are quite different from solenoid ones: they are constantly powered, and operate by running a motor one way or the other until it stalls. The motor drives a moving arm, from which a spring wire operates the point itself. The motor includes two SPDT switches for frog power etc. I have followed advice elsewhere and used stiffer wire: I used 0.8mm piano wire.
The Tortoise is a "slow motion" motor: it will move the point blades across slowly, as would happen on a "real" railway. For that to happen, the over-centre spring on the Peco points needs to be removed. With Peco N gauge points (mine are code 55) this is particularly important because the tiebar is quite stiff to move. It is far easier to remove the spring before mounting the points - but as I discovered not impossible afterwards!
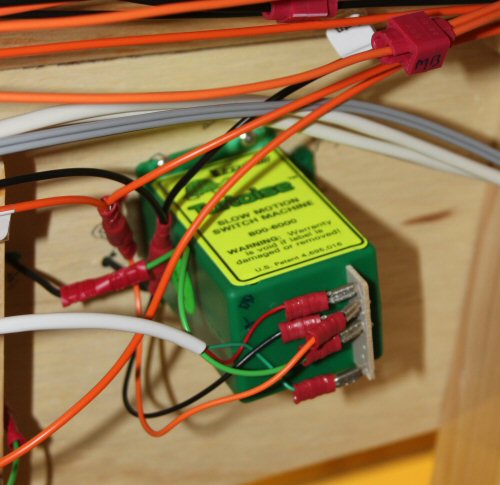
The DAC20 accessory decoders drive the Tortoise motor directly. Two wires from the output connector go to the motor - ignore the third central terminal. The same DAC20 also drives Seep motors - each output is individually programmed. Best of all the programming was done through a PC & LocoNet - reprogramming 5 outputs to Tortoise type took maybe 2 minutes. Finally the output jumpers on the DAC20 need to be swapped over to the "constantly powered" position.
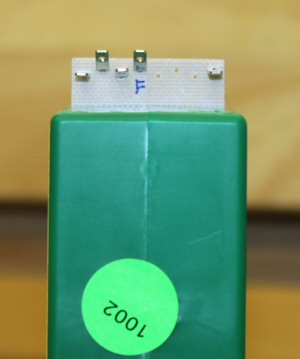
I use 2.8x0.8mm "tab" connectors for the point motor connections. A simple solder tab is added to the motor, and crimp connectors are used on the wires. The result is a simple but reliable process with all joints connectorised for testing etc.
Once the point has been installed, the motor needs to be added underneath. There is a template marked for this on the instruction leaflet; cut it out and laminate it, and puncture the holes to be able to mark through with a pen. To get the position right, I put the tortoise upside down with its wire through the tiebar (photo).
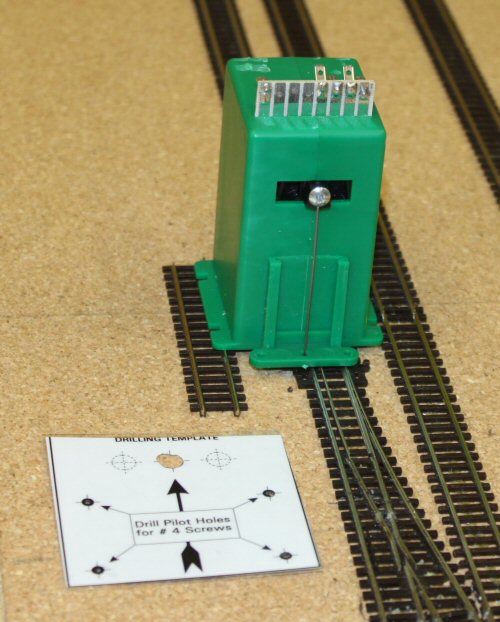
Finally offer up the template from underneath, and mark the 4 mounting holes. Remove the template and spot drill the 4 holes. The motor can then simply be screwed on; the excess actuating rod can be cut afterwards with strong, sharp cutters.